Monday, March 14, 2016
Swedish Almond Cake
Happy Pi Day! Today is my one my husband's favorite days of the year, partly because pie usually appears in our kitchen around this time, but mostly because we are both have a love for all things math-y.
Spring has definitely arrived early to our town and for some reason I have been on an almond kick lately. While I know this recipe is not officially considered a "pie", it was what I was craving this weekend. I found this recipe for a Swedish Almond Cake that looked too good to pass up. I did not have sliced almonds, so I substituted chopping up almonds myself.
Hope you enjoy as much as we did!
Ingredients:
- 1 cup granulated sugar
- zest from 1 lemon
- 1/2 tsp almond extract
- 1/2 tsp vanilla extract
- 1/4 tsp salt
- 2 eggs
- 1 cup all-purpose flour
- 1/2 cup butter, melted (1 stick)
- 1/8 cup almonds, chopped
- 1 tbsp coarse sugar (or I just used granulated sugar)
Recipe:
1) In a bowl, combine granulated sugar and the zest from 1 lemon.
2) Add vanilla and almond extract and salt. Mix until sugar mixture is well blended.
3) Add in eggs one at a time. Mix until wet ingredients are frothy.
4) To the wet ingredients, add 1 stick of melted butter and 1 cup flour. Grease an 8 or 9 inch cake pan or springform pan. Add cake batter to the pan. Top with chopped (or sliced) almonds and coarse sugar.
5) Bake at 350 degrees for 25 minutes. Remove from the oven and let cool for 20 minutes before taking it out of the pan.
Unfortunately, I forgot to take a picture of the final cake after it was done (yes, it was that good)! We finished almost half it over the weekend before we realized that. So, I leave you with a picture our half eaten almond cake.
Highly recommended recipe! :)
Thursday, February 25, 2016
Using Version Control and GitHub in the Classroom
This semester I'm co-instructing a course called Introduction to Data Science (BIO 260 and CSCI E-107) with Rafael Irizarry at the Harvard School of Public Health and Harvard Extension School. It is similar to a course that I was the head TA for in Fall 2014 taught at Harvard University called CS 109. We have a fantastic group of people involved with the course this year, which has made developing a course from scratch run much more smoothly than it could have been.
We spent one lecture teaching students the importance of version control. Version control is a way of tracking the change history of a project. Even if you have never heard of version control, you have probably already done it manually. For example, if you have ever written a document or paper, you may have tried copying and renaming the file multiple times as it went through different stages ("paper-v1.doc", "paper-v2.doc", "paper-final.doc", "paper_finalFINALdraft.doc", etc.). If at any point you wanted to see an older version of the paper, you could simply open the file. That is a form of version control. It's not very efficient, but it is in fact a form of version control. One improvement over this would be to have a way only keeping one file (e.g. "paper.doc") AND being able to see older versions of it as it changed through time. You can think of these older versions as little snapshots of the paper as it changed through time. The same idea can be applied to code that you write.
In data science, it's important to know how to keep track of your code as it changes over time. On top of that, when you are writing code in a collaborative setting, it is almost required that that you know something about version control. This is how a group of people can collaboratively contribute code to the same project using the same file. Git is a tool that automates and enhances a lot of the tasks that arise when dealing with larger, longer-living, and collaborative projects. It has also become the common underpinning to many popular online code repositories, GitHub being the most popular.
We spent one lecture teaching students the importance of version control. Version control is a way of tracking the change history of a project. Even if you have never heard of version control, you have probably already done it manually. For example, if you have ever written a document or paper, you may have tried copying and renaming the file multiple times as it went through different stages ("paper-v1.doc", "paper-v2.doc", "paper-final.doc", "paper_finalFINALdraft.doc", etc.). If at any point you wanted to see an older version of the paper, you could simply open the file. That is a form of version control. It's not very efficient, but it is in fact a form of version control. One improvement over this would be to have a way only keeping one file (e.g. "paper.doc") AND being able to see older versions of it as it changed through time. You can think of these older versions as little snapshots of the paper as it changed through time. The same idea can be applied to code that you write.
In data science, it's important to know how to keep track of your code as it changes over time. On top of that, when you are writing code in a collaborative setting, it is almost required that that you know something about version control. This is how a group of people can collaboratively contribute code to the same project using the same file. Git is a tool that automates and enhances a lot of the tasks that arise when dealing with larger, longer-living, and collaborative projects. It has also become the common underpinning to many popular online code repositories, GitHub being the most popular.
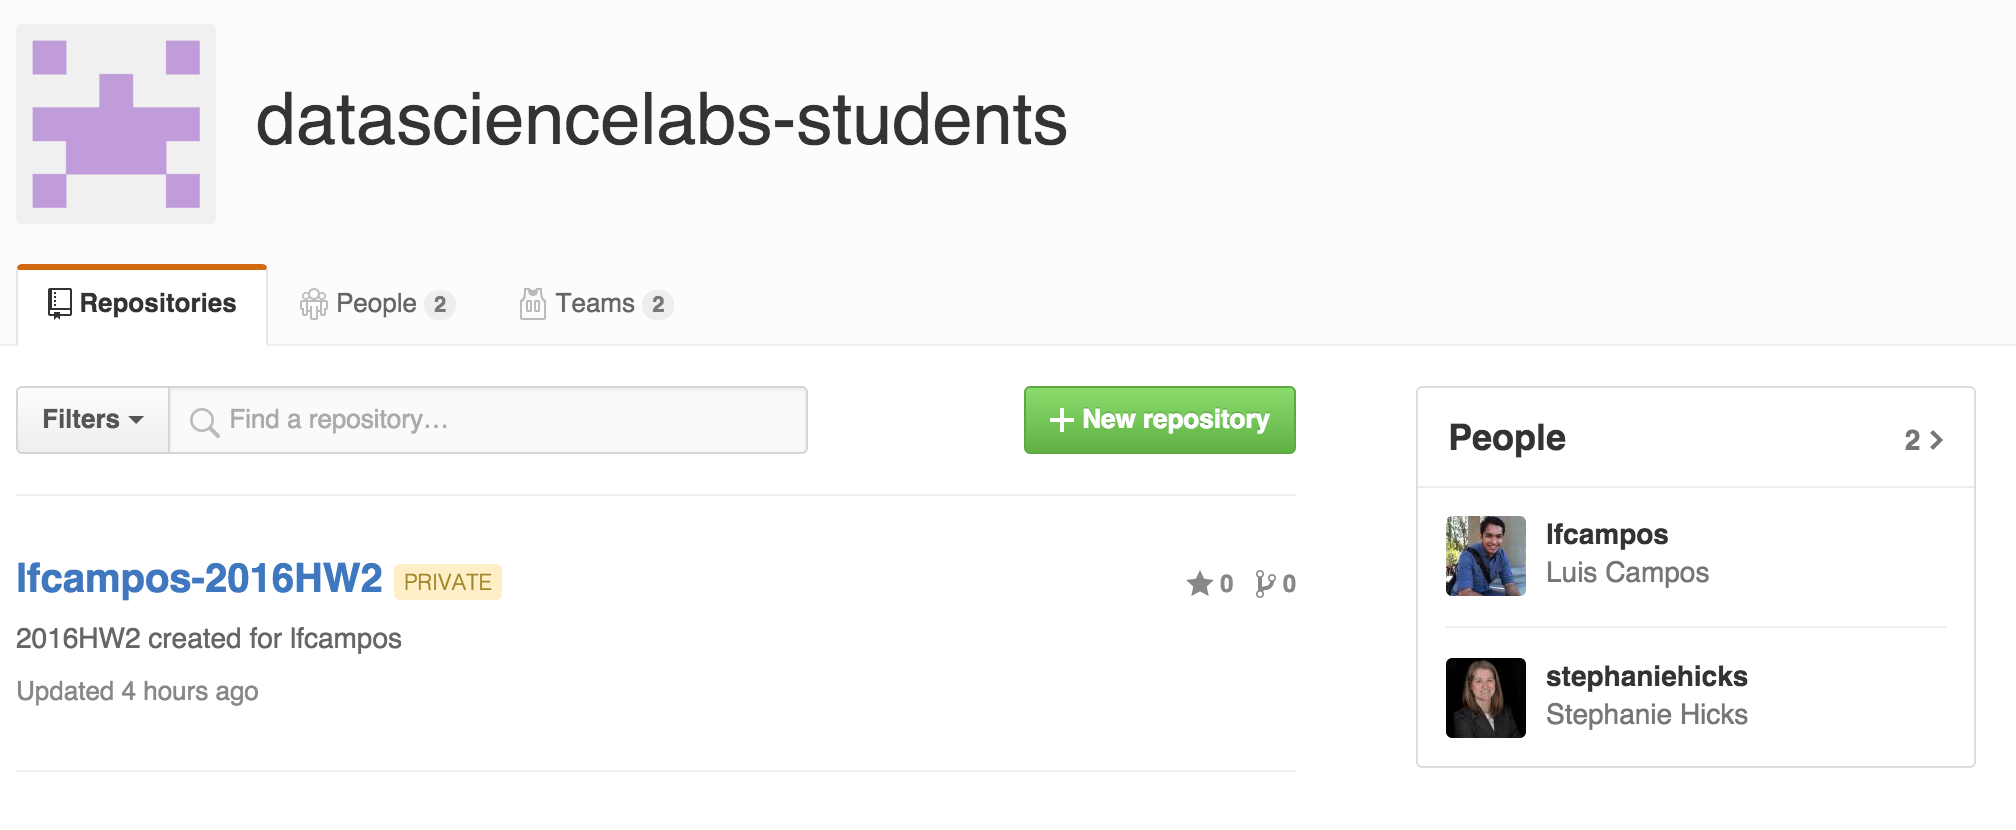
One of the unique aspects of the course is that we are requiring the students to work on their homework assignments and submit their homework assignments using GitHub. We started by creating the GitHub organization datasciencelabs-students. Then, we followed the GitHub Education Classroom guide. To create private repositories for each student for each homework assignment, we followed the sandboxing setup. Sandboxing is the idea of creating duplicated repositories (one for each student) in an automated fashion. The tool that physically creates the private repositories for each student for each homework assignment is called "teachers_pet".
For anyone interested in using teachers_pet in your own classroom, I created a set of notes on GitHub describing how to install and use the tool. Once you have set up all the authentication steps with GitHub, you can clone my teachers_pet GitHub repository, which is an enhanced version made up of multiple repositories from the web. It is enhanced because it can push files to specific branches in the private repositories AND it can delete repositories at the end of your course so you can re-use the private repositories in the future.
I hope others find the teachers_pet tutorial useful in using GitHub in the classroom!
Thursday, February 11, 2016
Meat Loaf
This American staple gets a bad reputation. If you analyze meat loaf (meatloaf) as an effective human staple... I would put it up against tamales and beans+rice.
- Delivery system for a good mix of proteins, fats, and carbs
- Cost-effective
- Flexible ingredient list
- Scaleable
- Low effort
Today, we are using Alton Brown's recipe, with a bacon-related twist.
Ingredients for the loaf:
- 1 small bag of Italian croutons
- 1/2 onion
- 1/2 red bell pepper
- 1 carrot
- 3 cloves garlic
- salt
- pepper
- chili powder
- thyme
- 1 pack of ground chuck (20% fat)
- 1 pack of ground turkey (7% fat)
- 6 strips of bacon
- 1 egg
- 1/2 cup ketchup
- cumin
- Worcestershire sauce
- hot pepper sauce
Process the dry ingredients (croutons and spices).
Next, process the veggies (garlic, carrot, onion & red bell pepper).
Then, Process the meat blend. If you need to mingle the meat (15% average fat content is the target), now is the time.
Mix the dry ingredients, mangled veggies, and blended meat. Also, add the egg.
Line your loaf pan with bacon (finally!). Transfer the meat mix into a loaf pan, temporarily. This is for shape only!
Line a baking sheet with aluminum foil and plop the loaf on it. Put everything into the oven at 325 F (163 C).
While the loaf is cooking, we will build the glaze. Put ketchup, W-sauce, hot sauce, and cumin into your meaty mixing bowl. Stir vigorously.
After the loaf has been cooking for 10-15 minutes, pull it from the oven and spread on the glaze. Allow to keep cooking until your probe thermometer reads 155 F (68 C). Ours took about an hour.
Thursday, February 4, 2016
Guacamole
Continuing our quest in Mexico, here's a dish that started with the Aztecs and has morphed into an all-purpose topping and dip in restuarants around the world.
This is a weekly recipe for our family, since it's healthy and fresh... also, it's a great excuse to eat chips!
The normal recipe:
- 4 avocados
- 2 vine-ripened tomatoes (a beautiful marketing technique)
- 1/2 large red onion
- 1 jalapeno
- 1/2 of a juicy lime
- 1/3 of a bundle of cilantro
- salt
- pepper
- cumin
- garlic powder (minimal)
We made a double batch, to support a work function that highlighted international culture and cuisine (Dana-Farber is a melting pot).
Slice avocados in half. Embed the knife and to twist the seed free. With the skin on, carefully score the fruit's flesh. Scoop out with a big spoon.
Chop a jalapeno (as mentioned in the Cabbage Slaw recipe).
Halve the tomatoes. V-cut the hard stem area. Dice the rest.
Chop the cilantro (see Cabbalge Slaw again)
Add salt, pepper, cumin, and garlic powder. Stir and mash with the big spoon from earlier.
Thursday, January 28, 2016
Cabbage Slaw (a knife skills lesson)
KNIFE SKILLS! Cabbage slaw is the ideal opportunity to practice a wide variety of techniques, and it follows our Tex-Mex theme.
Ingredients:
- 1 red cabbage, sliced
- 1/2 large red onion, finely sliced
- 1 jalapeno pepper (seeded and finely diced)
- 1/3 bundle of cilantro, coarsely chopped
- 1 lime, squeezed
- oil
- light-tasting vinegar (apple, rice, white wine, etc)
- salt (heaps)
- pepper (heaps)
- cumin (some)
- paprika (some)
- garlic powder (minimal)
- chili powder (to taste)
Level 1: Cabbage!
The wavy internal structure holds everything together, so it's a great for a warm-up veggie.Peel off the floppy leaves (2-4). Cut off the bottom and slice in half. Cut at an angle to remove the core. Then, slice finely and chop into quarters.
Level 2: Jalapeno!
Cut the top off and halve it. Use the tip of your knife to remove seeds and placenta (the term for the capsaicin-producing white ribs).
Press each half of the pepper against your cutting board until it splits and flattens. Using proper cutting technique, slice diagonally (down and forward), with your fingers tucked away from the blade. A fine dice is the goal.
Level 3: Red Onion!
Cut the top and bottom off. Split in half. Thinly slice the red onion. Your last couple slices can be done separately (to spare your fingers).
Mini-Boss Level: Spices!
Add salt, pepper, cumin, paprika, garlic powder, and chili powder.
Level 4: Cilantro!
After washing your cilantro, fold it into a bundle, and tightly press it against your cutting board. Using an orbital slicing motion, coarsely chop the cilantro.
Boss Level: The secret to great slaw.
Cabbage and acidity are besties (just ask sauerkraut!). Acid helps to mellow the bitterness of cabbage, soften the fibrous structure, and the liquid helps transfer flavors between the components. Oil adds lubrication and texture, but you don't want much (a tablespoon or two).
Subscribe to:
Posts (Atom)